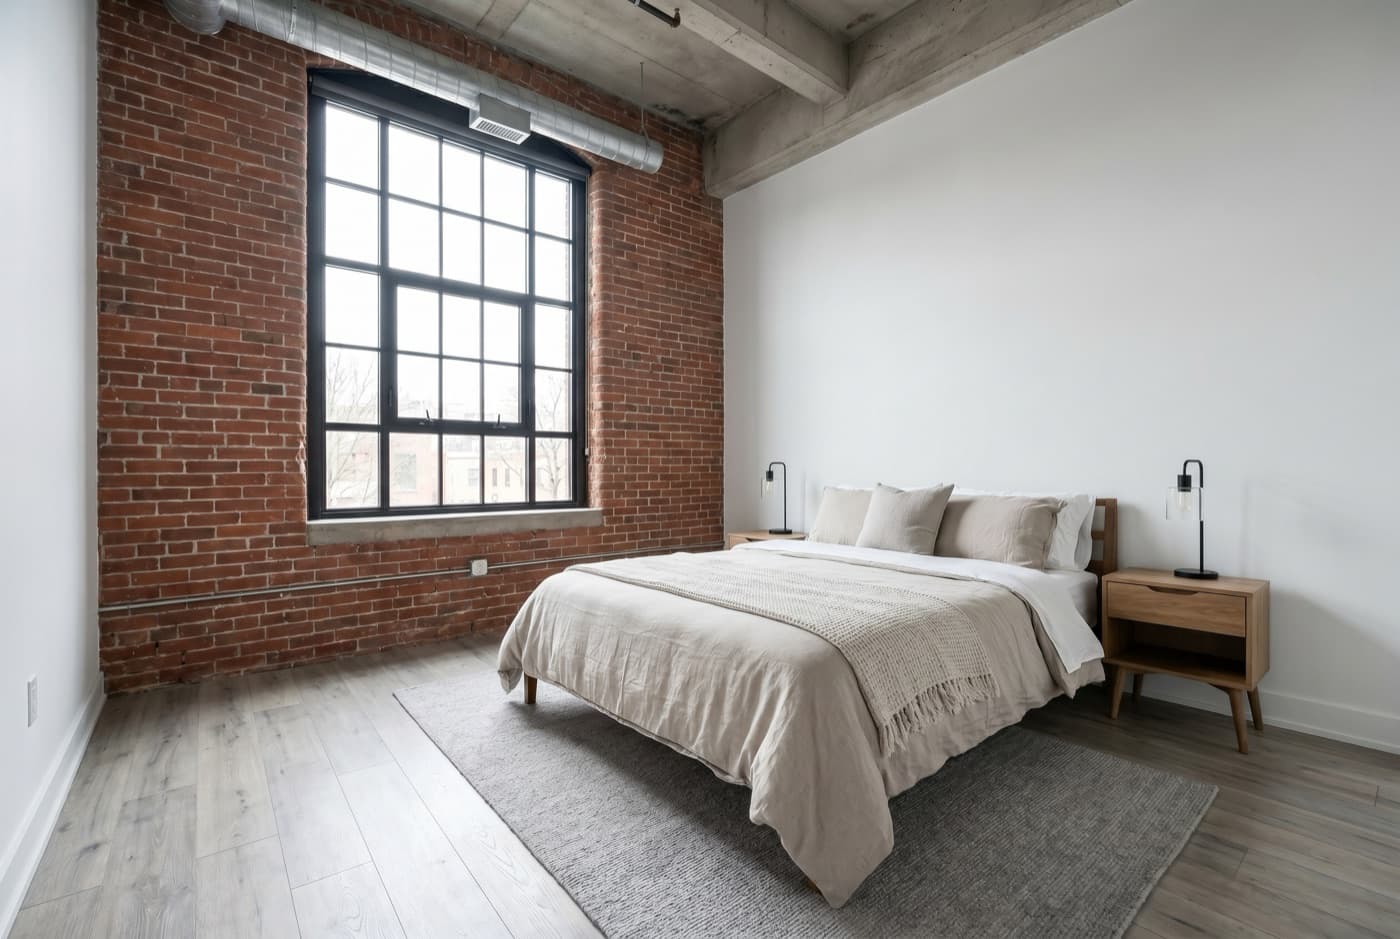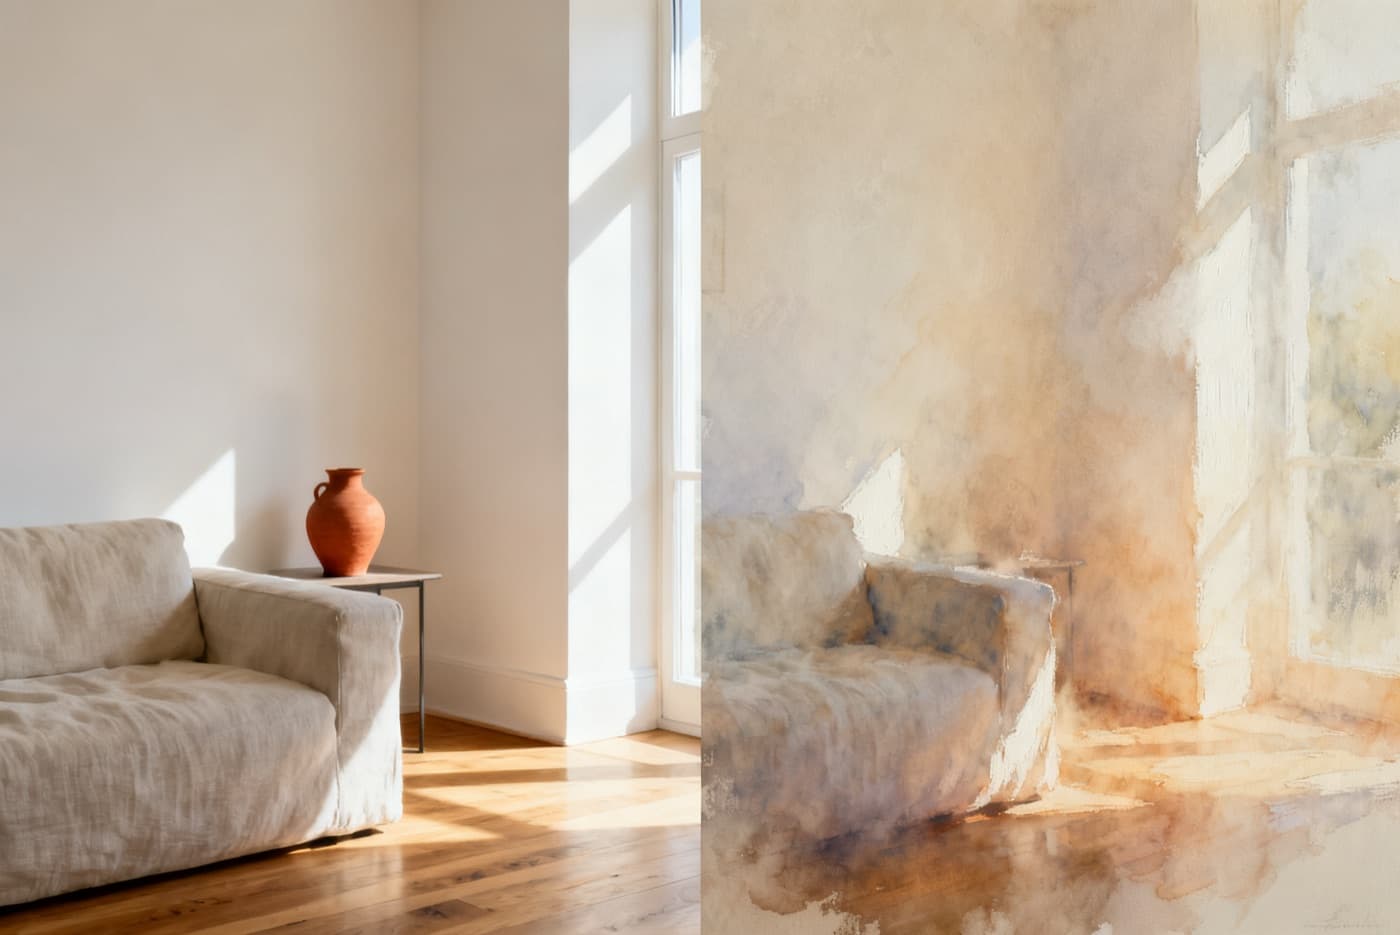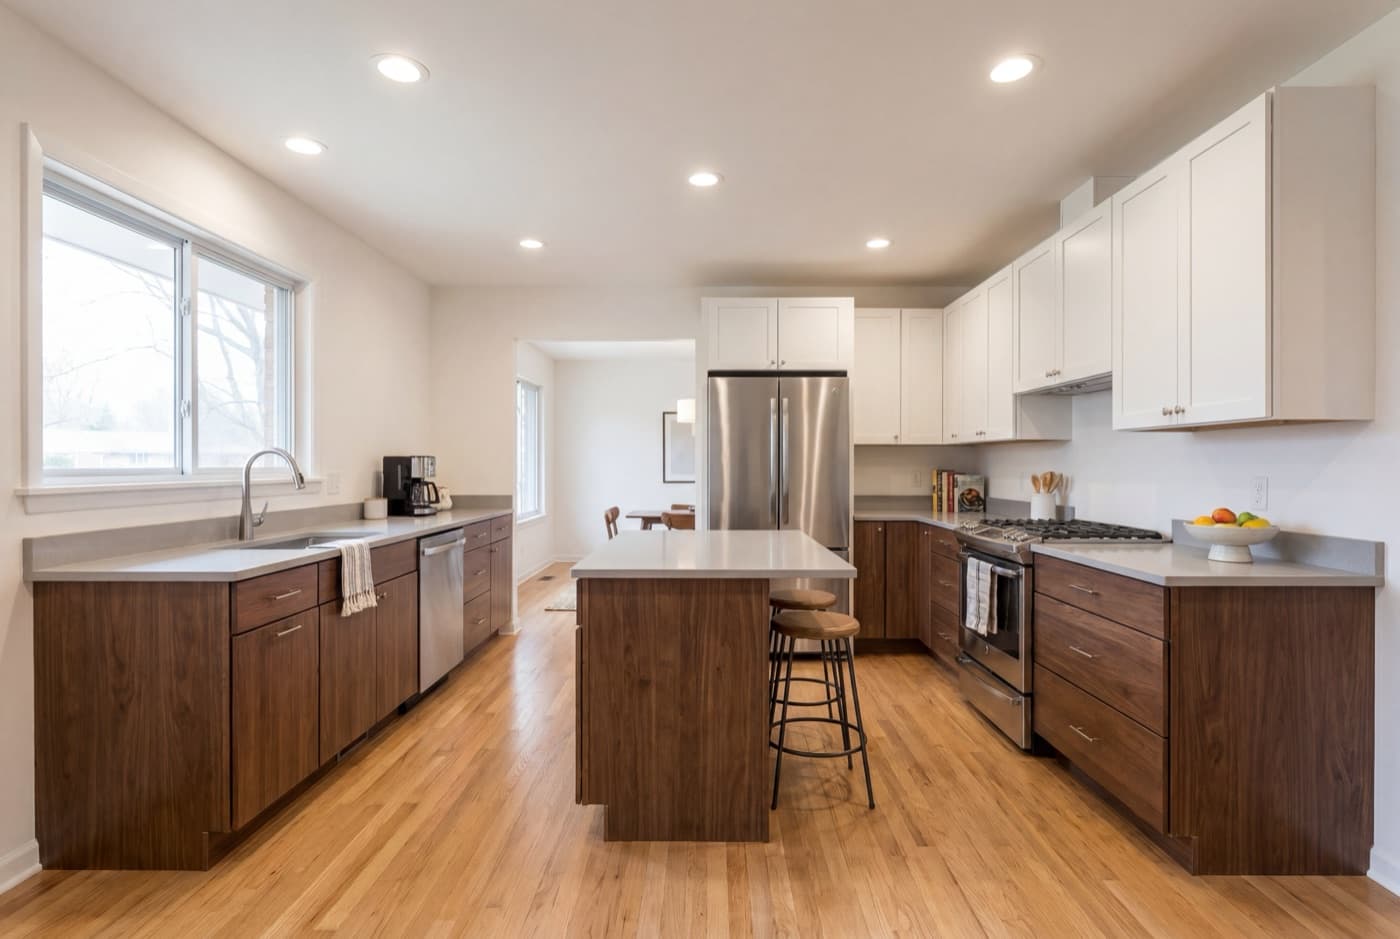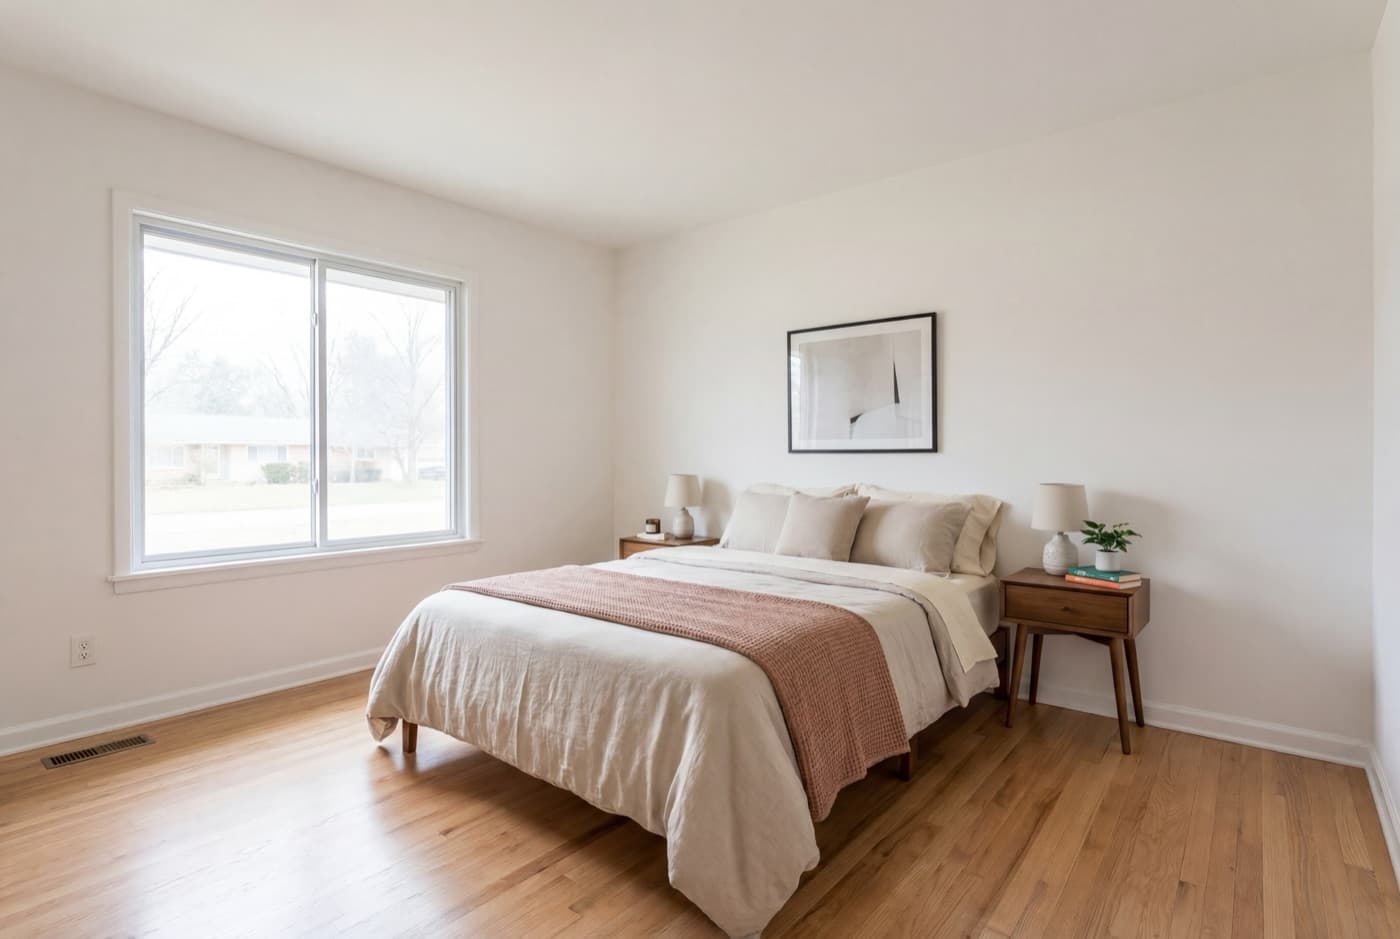
You want to turn real estate photos into a video, and every guide you open tells you to buy a gimbal and shoot footage. You don’t need to. If you have a set of good listing photos, you already have everything you need to make a listing video — no filming, no timeline editing, no videographer.
This guide walks the whole thing, start to finish, from the photos you already have. It also covers the two parts most photo-to-video tutorials skip, and both matter for real estate: a listing video has to stay truthful(you can’t restage or invent rooms the way some AI tools do), and it has to come out in the formats the MLS and social media each demand. Get those right and a folder of photos becomes a video that’s ready to post everywhere.
The short version — how to make a real estate video from photos:
- Pick 8–12 photosand order them like a walkthrough (exterior → living → kitchen → bedrooms → a standout feature → yard).
- Turn them into a video— a free slideshow app, or an AI maker that sequences the photos for you.
- Add gentle motion, an address + price overlay, captions, and licensed music.Add motion to the photos; never alter the rooms — keep the home truthful.
- Keep it 30–90 seconds.
- Export two cuts: a branded one for social, an unbranded one for the MLS.
The rest of this guide is each step in depth — what photos you need, the three ways to build the video, how to keep it MLS-safe, and how to get every format out of one upload. Already know you want it done for you? Turn your photos into a video — free watermarked preview →
What you need before you start
A photo-based listing video is only as good as the photos going into it. Before you open any tool, get three things right: enough photos, at a high enough resolution, in the right order.
How many photos (and which ones)
Aim for 8–12 of your strongest shots— enough to cover every major space without padding. An AI tool can build a short video from as few as three or four, but 8–12 makes a walkthrough that actually feels like touring the home. Include:
- An exterior hero— curb appeal establishes the property
- The main living space— the emotional anchor, show it early
- The kitchen— the room buyers care about most
- The primary bedroom and bath
- A standout feature— the view, the pool, the office
- Outdoor living, then a closing exterior
Order them the way a buyer would actually walk the home, not the order your camera saved them. The same room-sequencing logic that makes a good MLS video makes a good photo-based one — we go deep on it in the listing video workflow guide.
Photo quality that survives motion
This is the detail that separates a crisp video from a soft one. When a tool adds a slow pan or zoom, it crops into the photo — so a small or compressed image falls apart the moment the frame moves.
- Resolution:we accept photos down to 1024×576, but aim for 1280×720 or higher — ideally 1920×1080 or 4K. The bigger the source, the more room the motion has to move without softening.
- Use the originals, not the MLS downloads.The copies the MLS serves back are compressed to load fast on a listing page. Pull the full-resolution exports straight from your camera or your photographer’s delivery instead.
- Bright, level, and wide.Well-lit, straight shots hold up best. Skip heavy filters — a stylized photo looks worse stretched across a full phone screen.
If a photo is below that resolution floor, upload checks it and flags that exact photo — not the whole batch — so you know which one to swap. Drop in a higher-resolution version and re-upload it; the rest of your listing stays exactly as you left it.
How to turn real estate photos into a video: 3 ways
You have three realistic paths from a folder of photos to a finished listing video. Here’s the short version of each — for the full method-by-method breakdown, including shooting your own footage, see our guide to making a listing video. This page stays focused on the part that’s specific to working from photos: keeping it truthful and getting every format out of one upload.
1. Free slideshow apps (CapCut, Canva, iMovie)
Drag your photos onto a vertical or horizontal timeline, set each to 3–5 seconds, add a subtle zoom, drop in music, and export. It’s free and gives you full control. The cost is your time: budget 20–40 minutes per listing, and expect to redo the crop by hand for every format you need. Fine if you make the occasional video; painful if you want one for every listing.
2. Hire a videographer or editor
You get the best cinematic result — real motion, drone shots, graded color. It also costs the most: a dedicated real estate video commonly runs $350–750 per listing, with a turnaround of a few business days. For a luxury property where production value is the whole point, worth it. For volume listings you need out the door this week, it’s slow and expensive for what a photo-based video can do in minutes. If that’s the real decision you’re weighing, we compare the two routes in depth in our guide to hiring a videographer versus DIY.
3. AI listing-video makers (photos in → video out)
Upload the photos from your phone or laptop, and the tool sequences the rooms, adds motion and licensed music, burns in captions, and exports the video automatically. A preview can be ready in minutes; full multi-format exports take longer depending on the project. That combination — ordered rooms, real motion, music, and captions — is what separates a finished listing video from the flat, dated slideshow the word “photos to video” makes people picture. It’s the best fit for anyone who wants a video for every listing without it becoming a second job. Most makers have a free tier to test with (usually watermarked), so you can see the output before you pay.
One honest caveat: an AI maker is only as good as the photos you feed it — garbage in, garbage out. And not all of them work the same way. Our guide to AI real estate video explains the most important difference — whether a tool simply adds motion to your real photos or actually redraws the scene — is exactly what the MLS-safe section below is about.
Turn your listing photos into a video — no filming
Upload the photos you already shot. AI sequences the rooms, adds motion, captions, and licensed music, and exports landscape, portrait, and square. No filming, no editing. All three formats are a paid feature — the free preview is a single watermarked 720p landscape video.
Try it free →The step-by-step: from photos to a finished video
Whether you build it by hand or let a tool do it, the sequence is the same. Five steps take you from a folder of photos to a video that’s ready to post.
- Sequence your photos.Order your 8–12 shots as a walkthrough — exterior, entry, living, kitchen, bedrooms, standout feature, yard, closing exterior.
- Add motion, not mutation.A gentle pan or zoom (the “Ken Burns” effect) brings a still photo to life. Add movement to the photo — never regenerate, restage, or add furniture to the room. More on why below.
- Hook the first three seconds.Open on your best room with the address and price as a text overlay. Viewers decide fast — lead with the strongest frame, not a logo intro.
- Add captions and licensed music.Most feed video is watched on mute, so burn in the essentials — address, price, feature callouts. Match the music to the home, and use licensed or royalty-free tracks only (a copyrighted song can get the video taken down).
- Export the cuts you need.A branded version for your own channels and an unbranded version for the MLS — more on getting every format from one upload below.
Here’s what that looks like end to end — the same photos going in, a finished listing video coming out:
ListingVideo: 5 photos → branded landscape sample
Keep it MLS-safe: why “unaltered” wins
“Make a video from photos” can mean two very different things, and for real estate the difference is the whole ballgame:
- Motion on your real photos.The tool pans, zooms, and sequences the actual images you shot. The home in the video is the home in the photos — nothing added, nothing changed. This is truthful by design.
- Generative AI that redraws the scene.Some tools use AI to invent motion by regenerating the room — adding furniture, changing finishes, even inventing a view out the window. Now the video shows a home that doesn’t exist.
That second path is where real estate marketing gets into trouble. Materially altering how a property looks can cross the line from marketing into misrepresentation, and MLS boards increasingly ask for AI-altered listing media to be disclosed — rules that are tightening as these tools spread. The specifics vary by board, so check your local MLS before you publish anything generative.
The safe default is simple: only add motion, never alter the property.A tool that sequences and animates your real photos is MLS-safe by design, because it never changes what’s in the frame — there’s nothing to disclose because nothing was invented.
One more compliance line lives in your text, not your footage: Fair Housing.Describe the property, never the people who might live in it. No “perfect for a young family,” “safe neighborhood,” or “great for professionals” in your overlays or captions — stick to verifiable features like square footage, finishes, and distance to the train. And when you send the video to the MLS, it needs to be unbranded; we break that rule down in branded vs unbranded video & MLS rules.
One upload, every format (MLS + social)
A single listing doesn’t need one video — it needs a few. Each channel wants a different shape, and most MLSs want a different version entirely:
- 16:9 landscape— the MLS, Zillow, and YouTube
- 9:16 vertical— Instagram Reels, TikTok, and YouTube Shorts
- 1:1 square— the Instagram and Facebook feed
- Branded vs unbranded— your name and contact on the social cut; stripped off the MLS cut, which most boards require
Do that by hand and you’re re-cropping and re-exporting the same walkthrough three or four times per listing — the fastest way to give up on video by the third property. The efficient move is to make them all from one upload: the vertical Reel, the landscape MLS cut, and the square feed post come out of the same set of photos. Add agent or brand details and the paid render also generates matching branded copies.
Get landscape, portrait, and square from the same photos
Paid plans render clean landscape, portrait, and square videos from one upload. Add agent or brand details for matching branded copies, up to six videos total. No re-cropping or second edit. The free preview is a single watermarked 720p landscape video.
Make your first video free →For photographers: bill video as a paid add-on
If you shoot real estate, this is the highest-margin upsell you can add — because the raw material is already on your card. You don’t book a second shoot or buy new gear; you turn the photos you already delivered into a short walkthrough and put it on the invoice.
A fixed $75–150 video add-onis low enough that agents say yes on the spot and high enough to lift your average order value on every listing. Deliver a branded cut for the agent’s social feed and an unbranded cut for the MLS — or hand over a clean, white-label draft they can post as their own. Buyer demand is there (NAR’s 2025 data shows 37% of buyers used an online video site in their home search) while most photographers still don’t offer video, so it’s a real differentiator, not a commodity. We lay out the numbers in real estate photography pricing & packages.
Not sure video is worth it before you build it into your packages? We ran the honest, sourced version of that question in do listing videos sell homes faster.
Frequently asked questions
Yes. If you have a set of good listing photos, you can turn them into a finished listing video with no filming and no editing skills. A slideshow app or an AI listing-video maker sequences the photos, adds gentle motion and licensed music, burns in captions, and exports the video. The raw material is already on your camera; you don't need to shoot footage.
You can, but use the original high-resolution files, not the copies the MLS serves back — those are compressed to load fast on a listing page and soften as soon as a pan or zoom crops into them. Pull the full-resolution exports straight from your camera or your photographer's delivery. Aim for 1280×720 or higher, ideally 1920×1080 or 4K — our hard floor is 1024×576, so slightly smaller originals still work, just softer.
Generally yes, but it depends on what the AI does. A tool that only adds motion to your real photos — panning and sequencing the actual images — changes nothing about the property, so there's nothing to disclose. A tool that uses generative AI to redraw the scene (adding furniture, changing finishes, inventing a view) alters how the home looks, and MLS boards increasingly require that AI-altered listing media be disclosed. Rules vary by board and are tightening as these tools spread, so check your local MLS. The safe default is to only add motion, never alter the property.
You need different shapes and two versions. Landscape (16:9) goes to the MLS, Zillow, and YouTube; vertical (9:16) goes to Reels, TikTok, and Shorts; square (1:1) suits the feed. On top of that, most MLSs want an unbranded copy while your own channels get the branded one — confirm your local board's rule. Rather than re-cropping and re-exporting three or four times per listing, use a tool that renders every format and both branded/unbranded copies from a single upload.
By hand in a free slideshow app, budget 20–40 minutes per listing, plus more time to redo the crop for each format. With ListingVideo, the watermarked preview is ready in minutes; full multi-format exports take longer depending on project size. Hiring a videographer typically takes a few business days.
Yes, and you need both. Your branded version carries your name, logo, and contact info, and it belongs on your own channels — Reels, YouTube, email, your website. The MLS copy has to be unbranded, since most boards prohibit agent branding in the video field. The clean workflow is to generate both from one upload so you're not re-editing the video twice or risking a leftover watermark on the MLS cut.